What's inside Film Pro · v1.4.4

Nine panels. Every number read out of the build.

Thirty-eight sliders, eleven switches and three menus, in one OpenFX node. Each panel below is drawn from the shipping plugin — the defaults are its defaults, and every knob sits where the plugin puts it.

Preset look + working space

Two looks, or none at all.

Two looks, faded on their own while the manual controls stay applied. Tone Mapping is matched to DaVinci's own, so your Output transform can stay on None — and an exported LUT carries it.

Preset Look5 controls
LookRS Clean Natural
Look Strength1.000
Master Bypass
Working Color SpaceDaVinci WG / Intermediate
Enable Tone Mapping

Four working spaces. DaVinci WG / Intermediate, ACEScct, ACEScg and Rec.709 Gamma 2.4. On an ACES timeline it converts ACES ↔ DaVinci Wide Gamut internally, with Bradford white adaptation, so the look is identical and your IDT and ODT keep working.

White balance

Adaptation, not a tint slider.

A true Bradford adaptation on the Planckian locus, measured in mired so the drag feels even the whole way across.
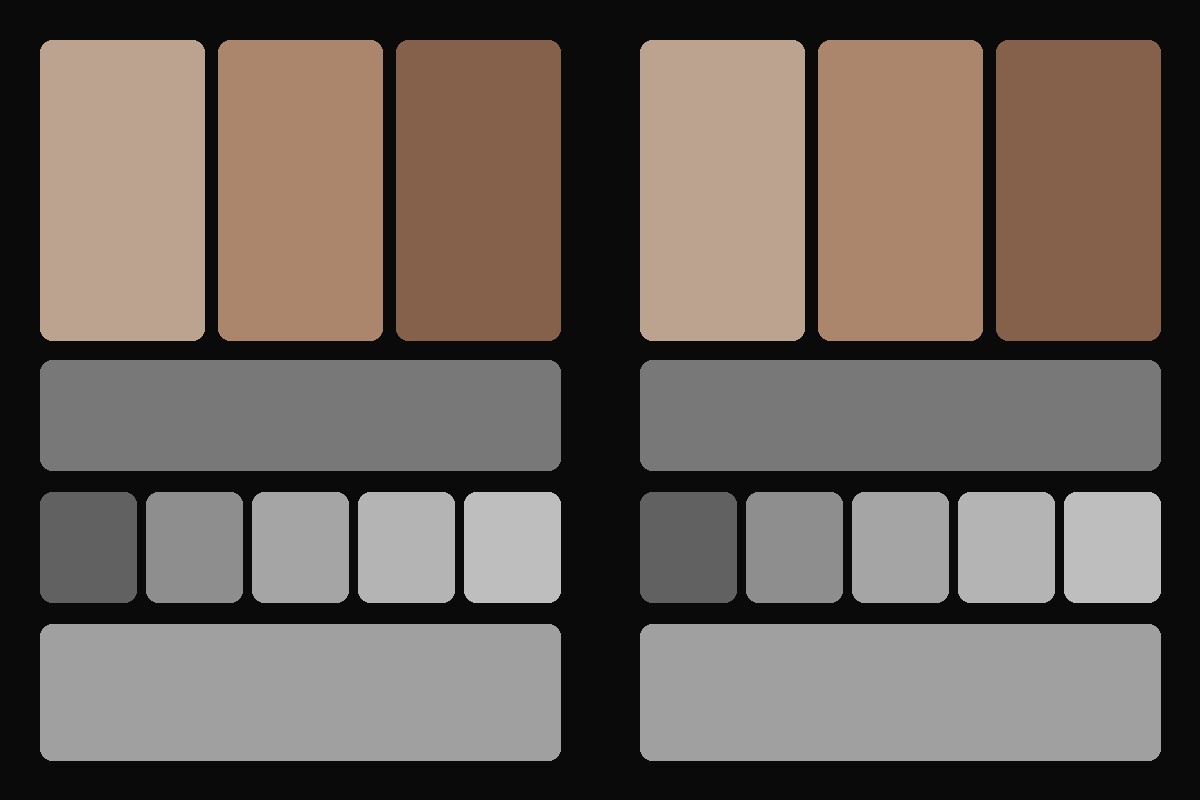
skin and neutrals, Temperature 0 → +40, rendered by the plugin engineofffull
Temperature 0 → +40 · skin and neutrals, rendered by the plugin engine
White Balance3 controls
Enable White Balance
Temperature0.000
Tint0.000
Tone

Controls that grab like a curve.

Shadows and Highlights each pull their own region, and each carries a Range in stops saying where the grab lands. A filmic S-curve sits on top.
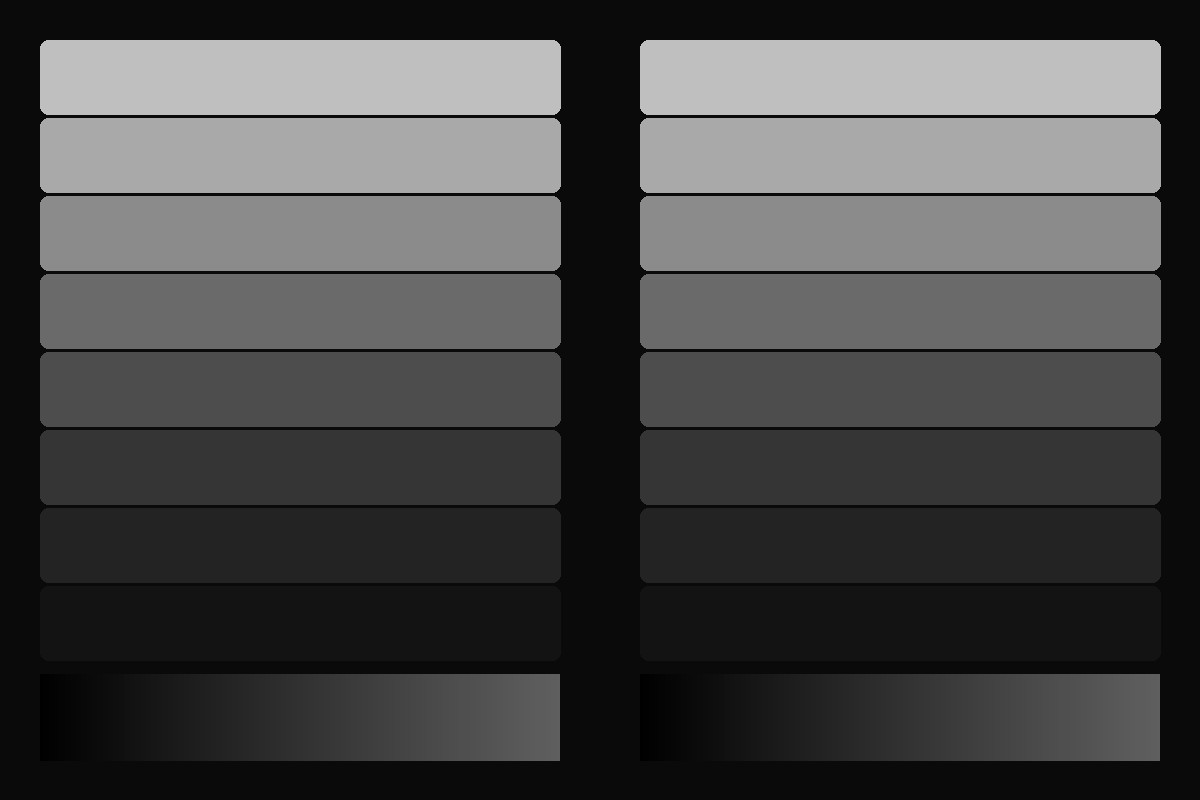
a shadow staircase, Shadows 0 → +0.5, rendered by the plugin engineofffull
Shadows 0 → +0.5 · a shadow staircase, rendered by the plugin engine
Tone11 controls
Enable Tone
Show Tone Curve
Dark Lift0.000
Exposure0.000
Contrast0.000
Tone Compression0.000
Shadows0.000
Shadow Range3.000
Highlights0.000
Highlight Range6.000
S-Curve0.000
Print density

Six axes of print density.

Density along the red, yellow, green, cyan, blue and magenta axes — darker and richer together, the way a print goes, not a hue rotation.
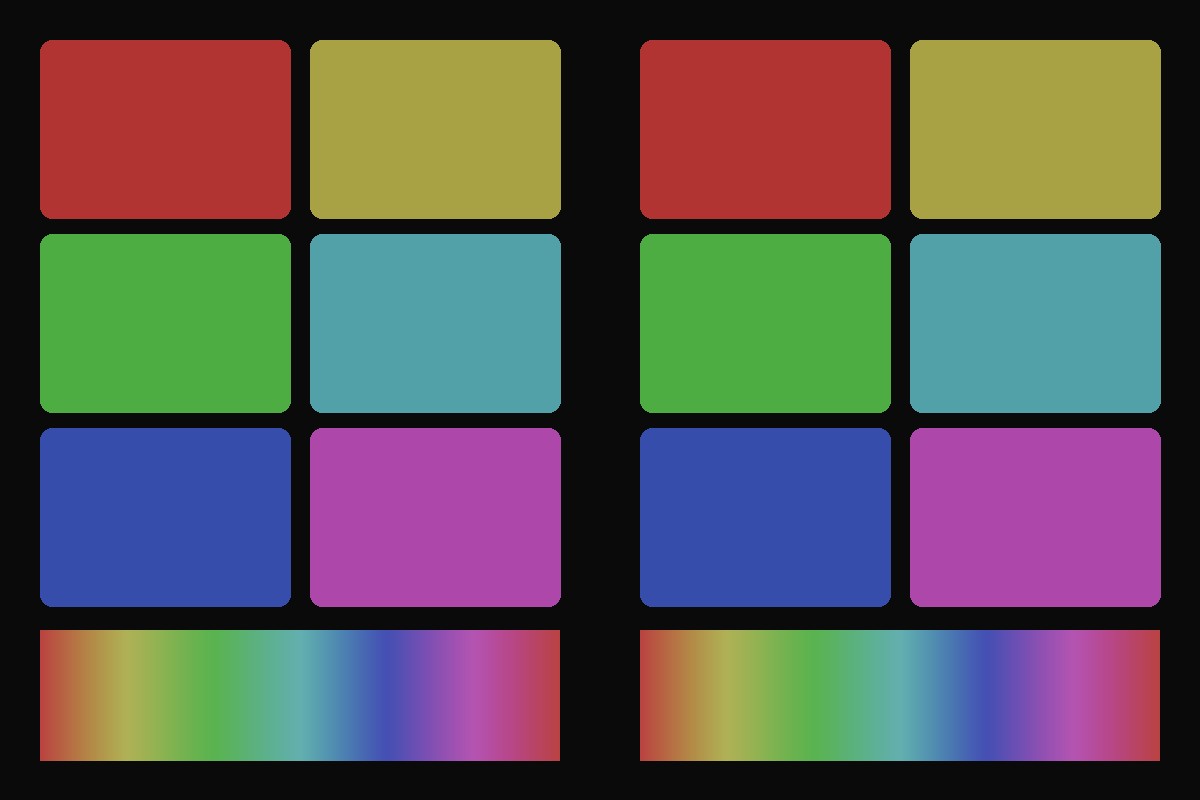
six hue blocks, Red Density 0 → +0.7, rendered by the plugin engineofffull
Red Density 0 → +0.7 · six hue blocks, rendered by the plugin engine
Density8 controls
Enable Density
Red Density0.000
Yellow Density0.000
Green Density0.000
Cyan Density0.000
Blue Density0.000
Magenta Density0.000
Deep Density0.000
Colour engines

Saturation that cannot go neon.

A per-pixel headroom limiter keeps colour from clipping, so saturation cannot go neon. Bleach Bypass is silver retention: contrast without lifting brightness.
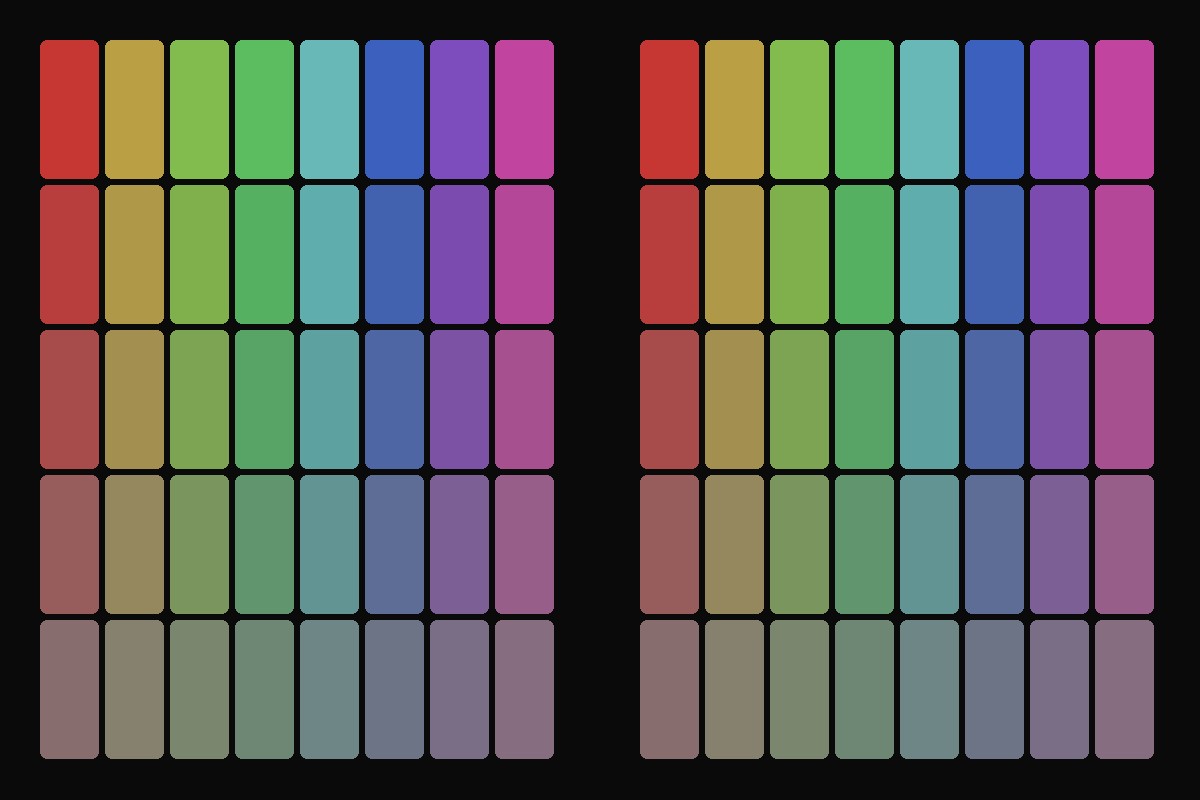
a hue and saturation mosaic, Bleach Bypass 0 → 1, rendered by the plugin engineofffull
Bleach Bypass 0 → 1 · a hue and saturation mosaic, rendered by the plugin engine
Color4 controls
Enable Color
RS Adaptive Saturation0.000
Subtractive Saturation0.000
Bleach Bypass0.000
New split tone

Two colours. Any two.

Pick both hues yourself. The tint rotates from one to the other as tone rises, so there is no dead spot in the mids and black stays anchored.
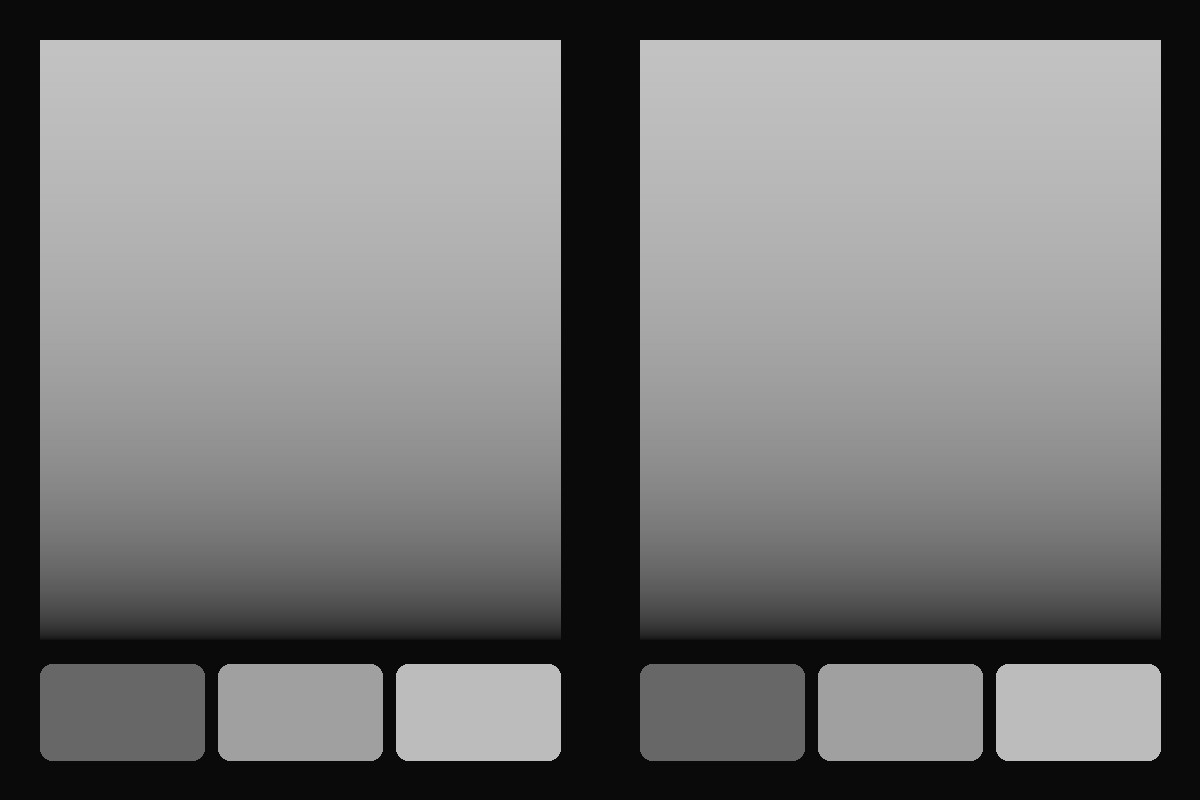
a tone gradient, Split Tone 0 → 0.8, rendered by the plugin engineofffull
Split Tone 0 → 0.8 · a tone gradient, rendered by the plugin engine
Split Tone7 controls
Show Split Tone Graph
Enable Split Tone
Split Tone0.000
Shadow Hue269.0
Highlight Hue159.0
Tone Density0.000
Split Balance0.000
Film texture

16, 35 and 65 mm.

Grain in the density domain — strongest in the mids, gone at true black. Pick a stock, then move any slider. Resolution-aware from 1080 to 6K.

flat fields, black through skin, Film Grain 0 → 1, rendered by the plugin engineofffull
Film Grain 0 → 1 · flat fields, black through skin, rendered by the plugin engine
Film Texture9 controls
Enable Film Grain
Grain StockCustom
Film Grain0.000
Grain Size1.000
Grain Sharpness0.500
Grain Saturation0.350
Grain in Shadows1.000
Grain in Midtones1.000
Grain in Highlights1.000
Halation & bloom

The corona film leaves behind.

Light bounces off the film base and re-exposes the red layer: a warm corona on the highlight. Bloom is the neutral glow beside it.
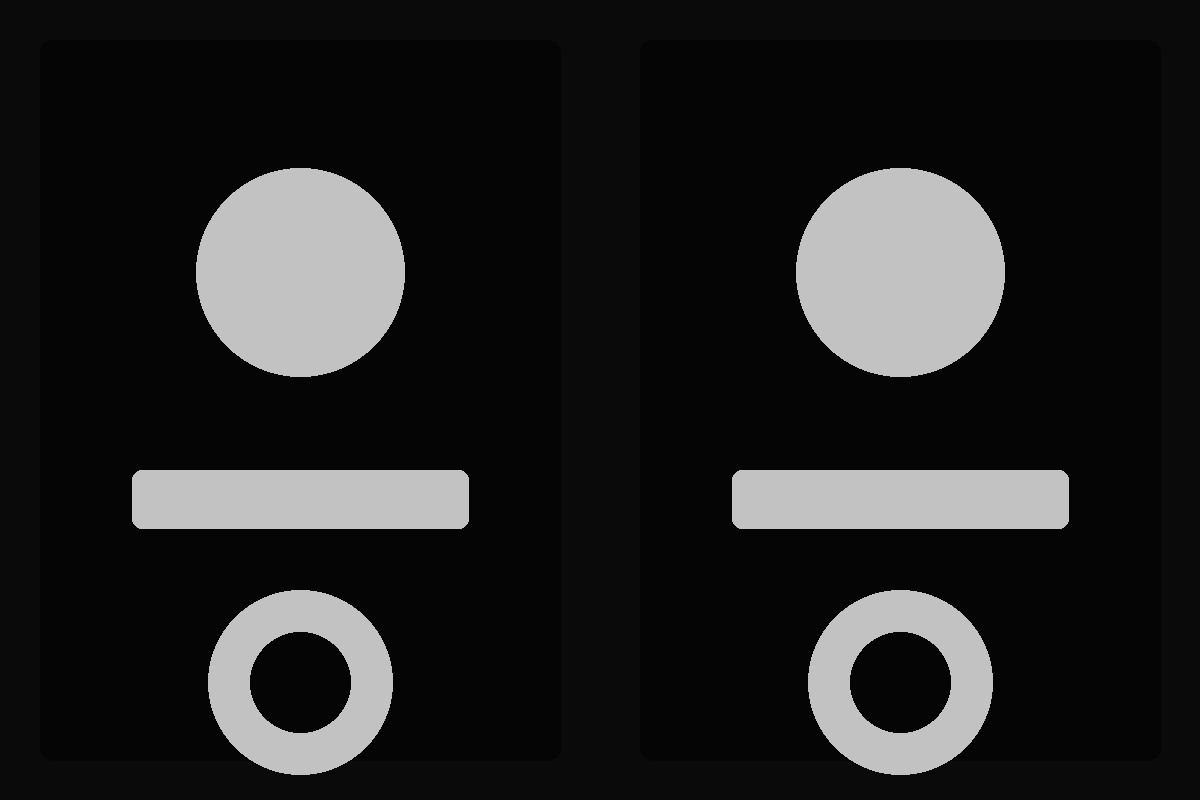
bright shapes on black, Halation 0 → 1, rendered by the plugin engineofffull
Halation 0 → 1 · bright shapes on black, rendered by the plugin engine
Halation & Bloom4 controls
Enable Halation & Bloom
Halation0.000
Bloom0.000
Glow Size1.000
Master

One knob over everything.

One dry/wet across the look and all thirty-seven controls. At 0 the picture is your untouched input.
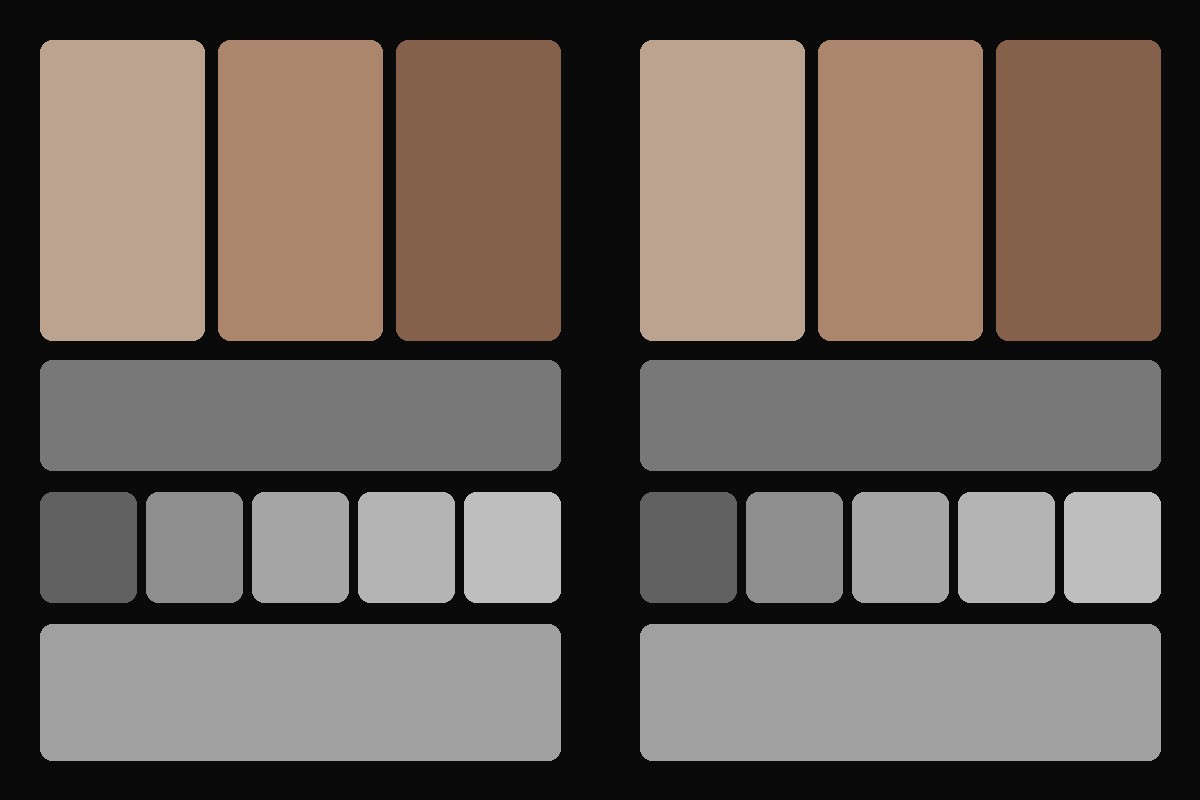
skin and neutrals, Global Blend 0 → 1, rendered by the plugin engineofffull
Global Blend 0 → 1 · skin and neutrals, rendered by the plugin engine
Master1 control
Global Blend1.000
Export

One button. Your grade, baked.

Export LUT bakes the grade, the look and the tone mapping into one .cube. Grain and halation stay behind — they read neighbouring pixels, and no 3D LUT can.

Export LUT1 control

Buying the bundle? Skin's five panels are here ›